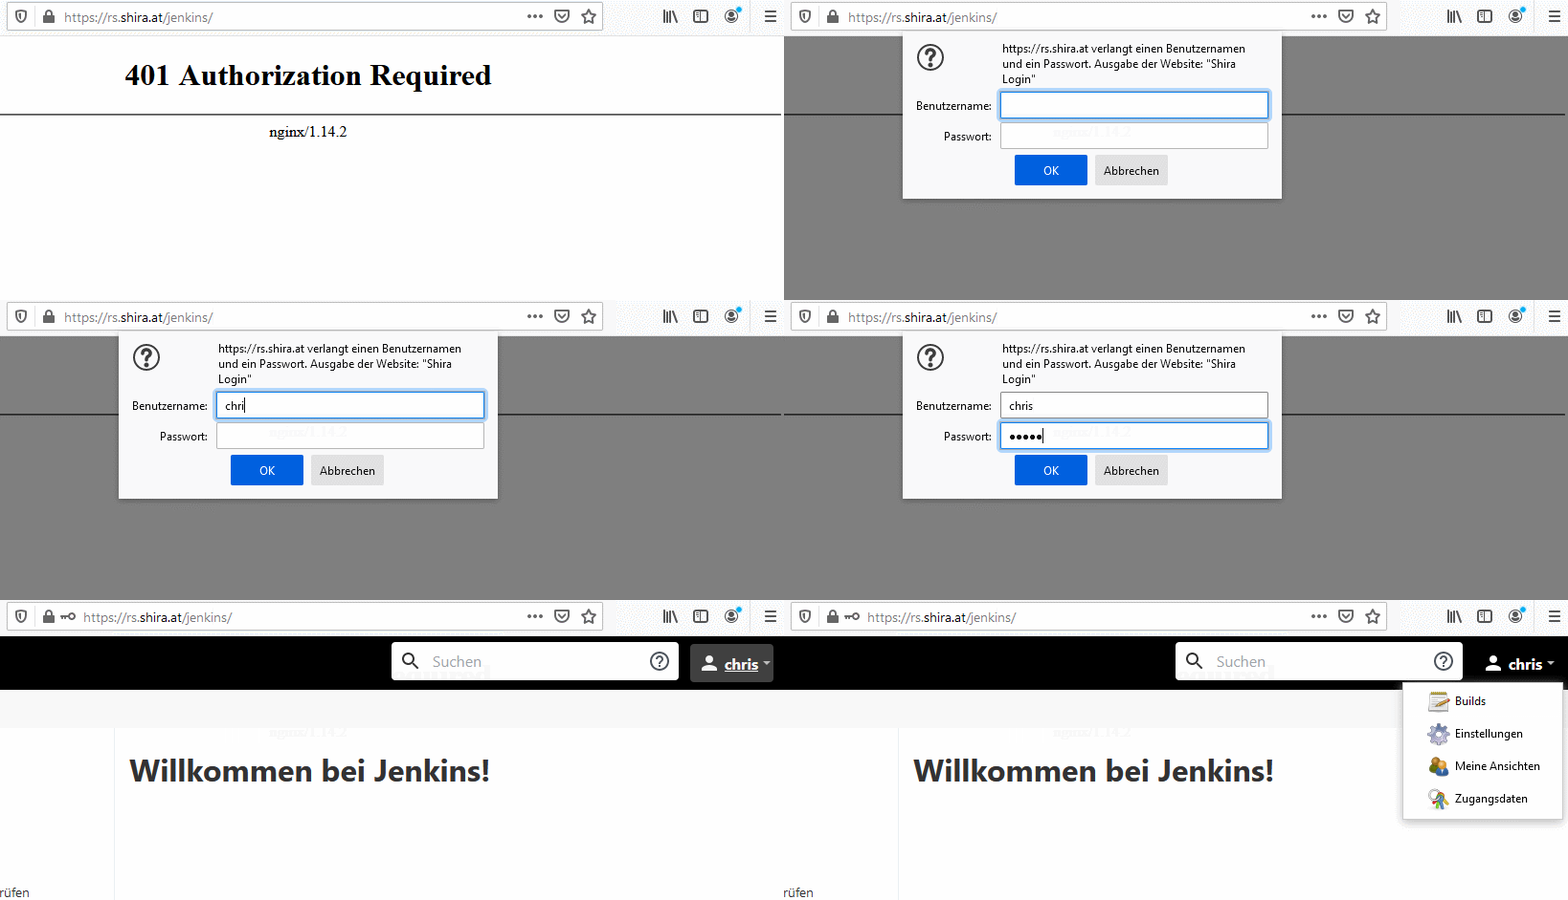
This is a guide on how to make a simple SSO solution for your webservices.
This guide uses PHP, .htpasswd files and the webserver NGINX.
NGINX handles the authentication and lets the applications know which users are logged in.
This works for: Jenkins, MediaWiki, MantisBT, Kanboard, Nextcloud.
This does not work for: git servers. Git needs a different authentication method, Basic Auth doesn't work, because for pushing you can't use basic auth.
For a service to work with this method it needs to support "Pre Basic Authentication". The service gets only the username of the logged-in user, so it has to support this.
There is a NGINX webserver as a reverse-proxy for 3 web-based services: Kanboard, MantisBT and MediaWiki.
The Problem: You have to login into every application one by one each time you want to work with them.
This means every platform has their own database for users and each user has a different password for each service.
Everything is on one webserver and managed by the same system, so why not combine them?
This brings us to another problem: Radius/Active Directory take a lot of work to setup. Too much work for a small one-server system.
I read about SSO, but it's a lot to learn and setup for only 3 mini-web-services.
The solution to this is NGINX's built-in basic-authentication.
You can let NGINX handle the authentication and just send the username to the service.
Warning: This is only secure if your web-service is only accessible via NGINX and has HTTPS enabled! For example: Jenkins should only be accessible through port 443 (https) and NOT port 8080 (outside of nginx via http).
Create the .htpasswd file in the web root folder. Then add the "deny access" block for your .htpasswd file to your config file in nginx:
sudo htpasswd -c /var/www/html/.htpasswd chris

sudo nano /etc/nginx/sites-enabled/<yourfile>

  location = /.htpasswd {
    deny all;
    return 404;
  }
Now you can - for example - make a folder login-only by adding the following in your nginx server block config:
location /wiki/ {
  auth_basic "Please Login";
  auth_basic_user_file /var/www/html/.htpasswd;
}
Now comes the auto-login/single-sign-on part: NGINX can forward your authenticated username to backend applications like the following for PHP:
location ~ \.php$ {
  fastcgi_param REMOTE_USER $remote_user;
  include snippets/fastcgi-php.conf;
  fastcgi_pass unix:/run/php/php7.3-fpm.sock;
}
Every PHP file you visit gets your username by nginx. This is only save to use if there is no other method of visiting this website except nginx.Array ( ... [REMOTE_USER] => Chris ... )This means that our REMOTE_USER setting worked and the PHP applications behind your nginx webserver now can use this username to automatically log you in your user.

For managing these basic authentication passwords I recommend this simple one-file-based PHP file: htpasstool
With this file you can create new users for .htpasswd files. These users will then automatically be created and logged in in your backend websites.
Warning: Be sure to make this file password-protected from normal users!
To protect the file you can do the following (file is example.com/htpasstool.php):
location = /htpasstool.php {
  if ($remote_user != "Administrator"){
    return 404;
  }
}
Now only the Administrator user can see and use the htpasstool file.
One problem this method has: Basic Authentication doesn't have a simple way to logout.
To actually make a logout functionality you have to delete the browsers basic auth cache.
This used to work by respond with an 401 http error code, but this doesn't work anymore.
The easiest method now is to fake-login with a non-existent user and the browser will delete the old (working) authentication.
To make a logout-functionality I use this as a link:
<a href="https://a@example.com">Logout</a>Basic Authentication can be used as user:pass@example.com. If you do that with a new (non-existant) user while logged-in it will forget the old user.